Many Facebook page admins are not aware of the feature that allows them to backdate or change the date of a Facebook post. Additionally, it is possible to stop the distribution of a Facebook post on your news feed.
In this Facebook page tutorial, we will cover how to backdate a Facebook post and other related concepts such as:
- The benefits of backdating a Facebook post
- Step-by-step instructions on how to backdate a Facebook post
- How to change the date of an existing Facebook post
- How to set an expiry date for Facebook posts.
If you prefer to watch a video tutorial on how to backdate a Facebook post, check out this video tutorial:
How to backdate a Facebook post before publishing?
To backdate a Facebook post:
- Open up the Facebook page
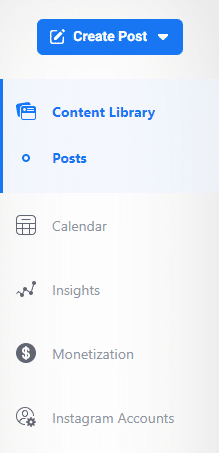
- Click on Publishing Tools on the left column.
- Then in FB Publishing Tools, click on ‘Creator Studio’
- Click on ‘Create post’, then write your post
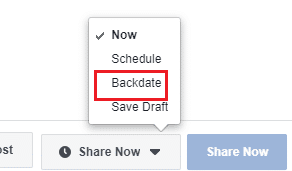
- Click on the Share now button with the down arrow:
- Select the ‘Backdate’ button.
- Then set the date you want your Facebook post to be backdated.
- Once you set the date and time, click on the ‘Backdate’ button.
The Facebook post with the backdated publish date and time will immediately be published on your Facebook page.
What is Facebook post backdating and when you should do it?
When you backdate a new Facebook post, you can set a publish date to an earlier date than the real date and time of actually publishing the Facebook post.
This can make sense when you are just starting out with a Facebook page, but you want your Facebook fans to have the impression when they check out your Facebook page that you have already been active on Facebook for a longer time.
You backdate a Facebook post that you are about to get published or you can also change the date of an existing Facebook post on your Facebook page.
You can only backdate a Facebook post from a Facebook Business page, you can’t backdate Facebook posts from your personal profile. So if you want to backdate Facebook posts, you should create a Facebook business page for your public persona.
Change the date of an existing Facebook post
If you have already posted a Facebook post from your Facebook page, you can still change the date of publishing if you want to do that. All you have to do is to follow this process:
- Open up the Facebook page, where you have posted the FB post
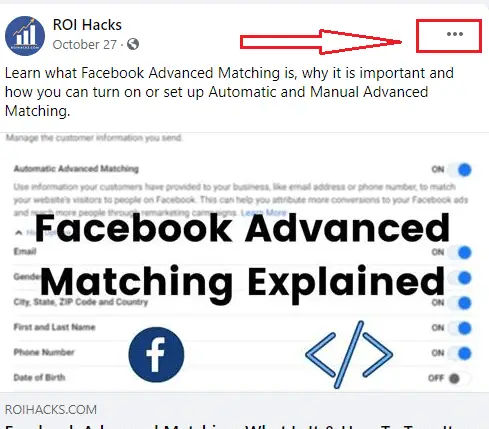
- Go to the specific Facebook post, you want to change the publish date of
- Click on the three dots in the upper right corner of the Facebook post
- From the drop-down list, click on ‘Edit date
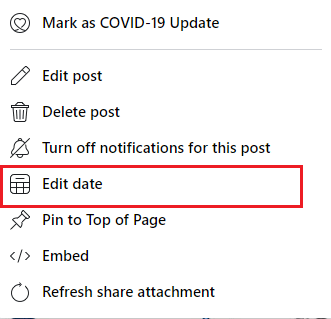
- Now you can change both the publish date and time.
- Once you did that, click on the ‘Done’ button
That is all, the publish date and time of your Facebook post have been changed.
Set an expiry date to Facebook posts
Another frequent use case that Facebook is providing a solution for is when you are running a special limited-time discount in your store for instance. And once the limited time sale is over, you don’t want the Facebook post to be surfacing on Facebook news feed as the sale has ended and it would just confuse people. You can solve this issue by setting up an expiry date to the specific Facebook post.
Here is how you can set an expiry date to a Facebook post:
- Open up Facebook Creator studio, by clicking on this link, or navigate to your Facebook page, by clicking Publishing Tools on the left side, then in FB Publishing Tools click Creator Studio on the left side of the screen again.
- Once you are in the Creator Studio, click on the ‘Create post’ button, then create your Facebook post, but instead of clicking on the blue ‘Share now’ button, click on the Share now button with the down arrow:
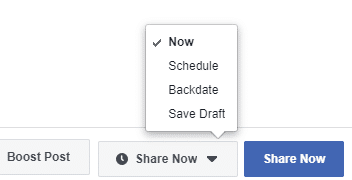
- From these options, click on ‘Schedule’
- You will be able to first schedule the Facebook post, but also check the ‘Stop News Feed Distribution’ and then you can also set a Facebook post expiry date and time.
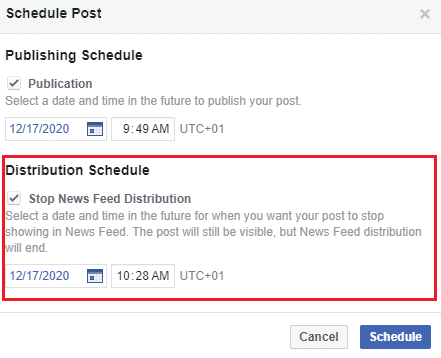
- Once you have set up the Expiry date, you can click on the ‘Schedule’’ button
It is important to add that your Facebook post won’t be deleted after the Expiry date has been passed, Facebook users still will be able to see the FB post if they check your Facebook page. However, the post will never show up in the FB News Feed ever again.
